Keycloak Cross-Realm Token Exchange
- alianah31
- Mar 6, 2025
- 2 min read
Goal: authenticate as a user in Realm A, and exchange that access token to impersonate a user in Realm B.
Prior art:
Token exchange: https://www.keycloak.org/securing-apps/token-exchange#_internal-token-to-internal-token-exchange
Cross-Realm exchange: https://stackoverflow.com/a/79451113/10525932
So - we're going to follow the Stack Overflow answer more or less verbatim to start. The instructions flip-flop the realm names, so for the rest of this post:
Realm A -> target realm (containing user to be impersonated)
Realm B -> source realm (containing user to do the impersonating)
Step 0 - Start Keycloak with features enabled
./bin/kc.sh ${START_CMD} \
  ... \
  --features="token-exchange,admin-fine-grained-authz" \
  ...
Step 1 - Create new Realms


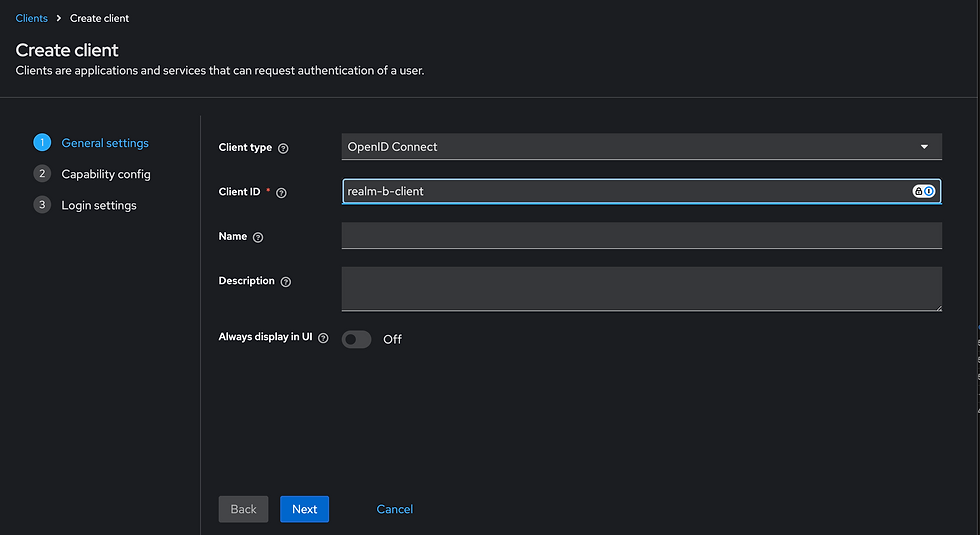
Step 2 - Create realm-b-client
Note - in the SO answer, they actually create the IdP first, but this doesn't seem to be possible, as the IdP creation step requires a client ID/secret. So creating that here first.


Grab the client secret for later
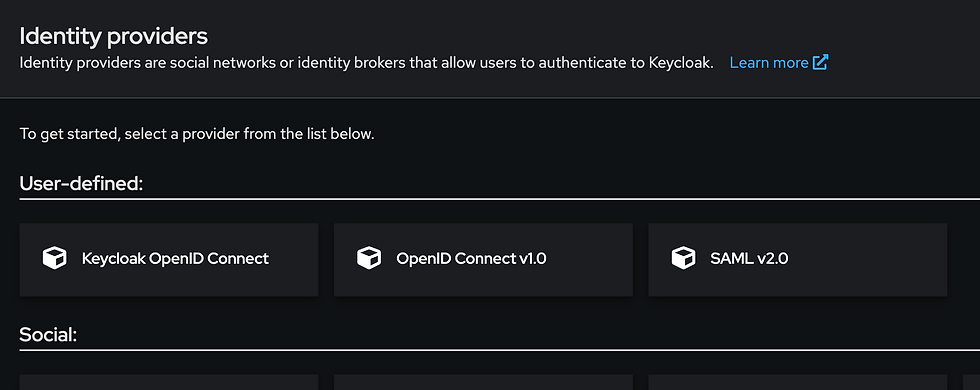
wfNaIERSgHHV6WHCKcTgxJXuKSbMhtplStep 3 - Create the IdP in Realm A


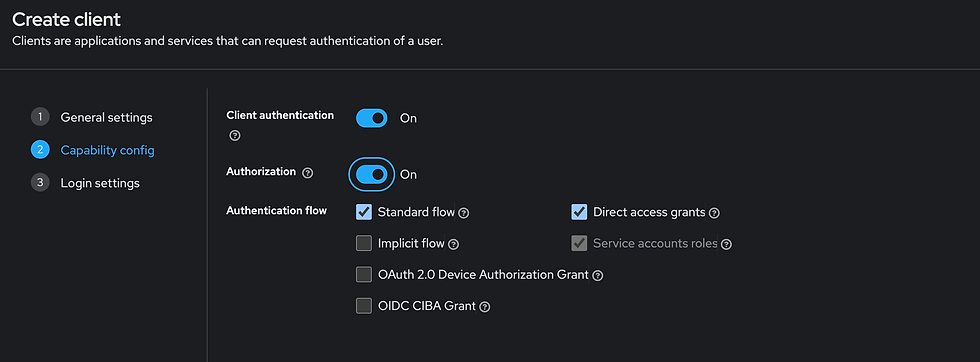
Step 4 - Create client in Realm A


Step 5 - Configure Token Exchange Permissions
This is where instructions get a little wonky. The SO answer says "Go to the Permissions tab in realm A" - There isn't a realm-level permissions tab that I can see anywhere, so I'm assuming that this means permissions for the realm-a-client:
Enable fine-grained permissions:

Note - "token-exchange" is already in the permission list, so no need to "enable" it (and in fact no way I see to disable it).
"Edit the Token Exchange Scope" - Opening up the token-exchange permission settings, scope is already filled out to be "token-exchange"... Not sure what else it should be?

Add a client policy:


Step 6 - Create users in each realm
In source realm (realm B), create impersonator


In target realm (realm A), create impersonatee


Step 7 - Perform Token Exchange
Start by logging in the impersonator:
> service_token=$(curl -s \
  -X POST \
  'https://.../realms/realmB/protocol/openid-connect/token' \
  -H 'Content-Type: application/x-www-form-urlencoded' \
  -d 'client_id=realm-b-client' \
  -d 'client_secret=wfNaIERSgHHV6WHCKcTgxJXuKSbMhtpl' \
  -d 'username=impersonator' \
  -d 'password=ImpersonatorPassword' \
  -d 'grant_type=password' | jq -r .access_token)
> echo "${service_token}"
eyJ...gG7w
Now use that token to exchange for the impersonatee:
> curl -L 'https://.../realms/realmA/protocol/openid-connect/token' \
  -H 'Content-Type: application/x-www-form-urlencoded' \
  -d 'grant_type=urn:ietf:params:oauth:grant-type:token-exchange' \
  -d "subject_token=${service_token}" \
  -d 'subject_token_type=urn:ietf:params:oauth:token-type:access_token' \
  -d 'client_id=realm-a-client' \
  -d 'client_secret=eYlm0uFYL9ruKMdRAOkN8SJa2NPdNrey' \
  -d 'subject_issuer=realm-b-idp' \
  -d 'audience=token_exchange' \
  -d 'scope=openid profile roles' \
  -d 'requested_subject=impersonatee'
{"error":"access_denied","error_description":"Client not allowed to exchange"}
So unfortunately - still missing some permissions somewhere...?


Comments